Imaginez ce: Vous venez de finaliser la conception de votre produit, Et maintenant, il est temps de transformer cette vision en un vrai, paquet tangible. Mais comment vous assurez-vous que votre emballage protégera non seulement votre produit, mais donnera également vie à votre conception comme vous l'imaginiez? C'est là que la diéline entre. C'est le plan qui guide l'ensemble du processus de production, Assurer que votre emballage est fabriquée et visuellement précise.
Dans ce guide, Nous décomposons tout ce que vous devez savoir sur la préparation d'une diéline pour la conception de l'emballage. Des composants fondamentaux aux conseils avancés sur le formatage des fichiers et la collaboration avec les fabricants, Nous fournirons les informations dont vous avez besoin pour faire de votre projet d'emballage un succès du début à la fin.
Qu'est-ce qu'une diéline?
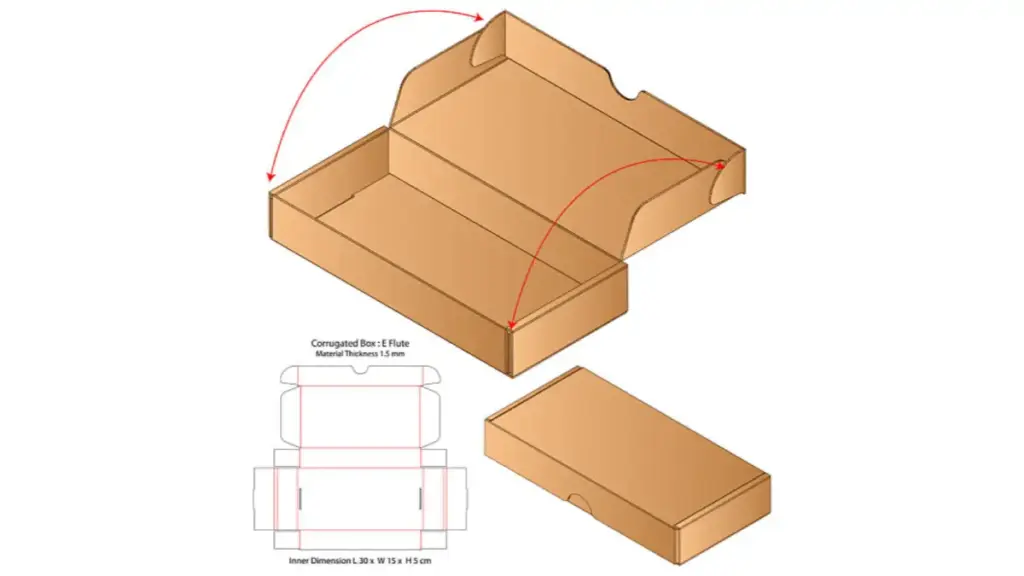
UN diéline est le plan de votre emballage, Fournir une représentation plate de la façon dont votre conception sera coupée, plié, et assemblé. Les dielines sont souvent créées par des fabricants en fonction de la conception du vendeur, ou dans certains cas, Les vendeurs fournissent les fichiers de diéline directement au fabricant pour la production. Sans une diéline précise, Votre conception pourrait ne pas être produite correctement, conduisant à des erreurs coûteuses.
Avant de créer votre diéline, Il est crucial de définir les éléments clés suivants:
- Taille d'emballage, échelle, et dimensions
- Placement des éléments visuels
- Position des plis, Couper les lignes, onglets, plis, et d'autres points de connexion
- Notes de fabrication
- Exigences de saignement
Composants clés d'une diéline pour l'emballage
La diéline ne concerne pas seulement la forme de l'emballage. Il comprend plusieurs composants clés qui doivent être compris et soigneusement conçus:
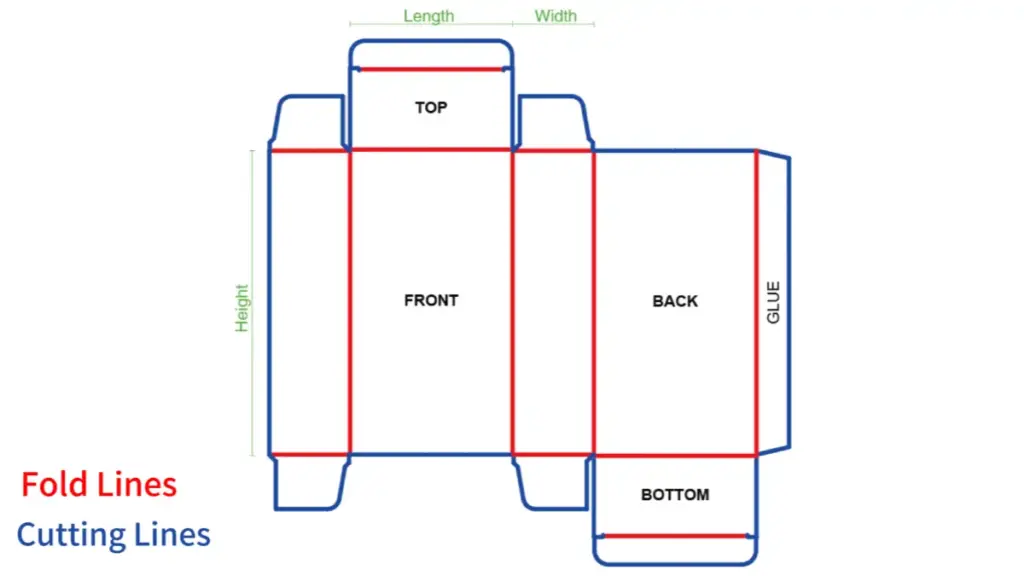
- Couper les lignes
Ce sont les lignes qui indiquent où l'emballage sera coupé. Ils décrivent la forme extérieure de l'emballage et sont généralement représentés comme des lignes pleines. Ces coupes définissent la structure globale de l'emballage.
- Lignes de pliage
Les lignes de pli sont marquées par des lignes rouges sur une diéline. Ce sont les lignes où le matériau sera plié pour créer la forme de l'emballage.
- Zone de saignement
Le saignement est la zone qui s'étend au-delà de la ligne de garniture, S'assurer qu'il n'y a pas de bord non imprimé sur le produit final. Il est essentiel d'avoir cette zone supplémentaire, généralement 1/8 pouce, Pour éviter toute bordure blanche autour de votre emballage lorsqu'elle est coupée.
- Lignes de perforation et de score
Les lignes de perforation sont utilisées lorsque vous voulez qu'une partie de l'emballage soit déchirable, comme un coupon ou une ouverture de produit. Lignes de score, d'autre part, sont utilisés pour un pliage plus contrôlé, Assurer des bords nets où le matériau se plie.
- Marges de sécurité
Ce sont des directives d'espace supplémentaires pour empêcher le coup de texte ou d'autres éléments de conception importants d'être coupés. Une marge de sécurité commune est à propos 1/8 pouce à l'intérieur des lignes de coupe.
Comment créer une diéline qui répond aux spécifications de fabrication

Créer une diéline ne concerne pas seulement les bonnes dimensions et les bonnes lignes; Il s'agit de garantir que votre conception s'intègre parfaitement dans le processus de fabrication. Pour éviter les erreurs de production, Suivez ces étapes clés pour créer une diéline qui répond aux normes de l'industrie:
Considérez la taille et les tolérances
Commencez par spécifier les dimensions exactes de votre emballage - height, largeur, et profondeur. Il est crucial de tenir compte des tolérances, Variations de petite taille pendant la fabrication. Si ceux-ci ne sont pas pris en compte, Votre emballage pourrait finir par trop petit ou trop grand, affectant l'ajustement et la fonctionnalité du produit final.
Utilisez le format de fichier correct
Pour vous assurer que votre diéline est utilisable par les fabricants, vous devriez le fournir dans un format vectoriel comme l'IA (Adobe Illustrator) ou pdf. Ces formats permettent aux lignes de rester nettes et évolutives, qui est essentiel pour une coupe et un pliage précis.
Définissez le bon mode couleur
Pour les projets d'impression, Travaillez toujours en mode couleur CMYK plutôt qu'en RVB. En effet, CMYK est spécialement conçu pour l'impression, tandis que RVB est destiné aux écrans numériques. L'utilisation de CMYK garantit que les couleurs que vous voyez sur votre écran sont aussi proches que possible de ce qui apparaîtra sur l'emballage imprimé. Le code couleur PMS doit également être indiqué avec un échantillon.
Vérifier la résolution et les dimensions
Assurez-vous que votre diéline est créée à la bonne résolution (généralement 300 DPI pour imprimer) et qu'il suit les dimensions requises. Si le fichier est trop petit ou si la résolution est trop faible, L'impression finale manquera de netteté et de clarté.
Compte pour la précision de pliage et de coupe
Même les erreurs mineures de placement peuvent entraîner un emballage mal aligné, provoquant des problèmes avec l'assemblage. Vérifiez que toutes les lignes de pliage s'alignent parfaitement avec votre modèle de diéline pour éviter les erreurs pendant la production.
Utiliser le modèle de diéline du fabricant
De nombreuses entreprises d'emballage personnalisées, comme packccp, Fournissez leurs propres modèles de diéline pour vous assurer que votre conception fonctionne avec leurs méthodes de production. L'utilisation de leurs modèles garantit que votre structure d'emballage s'aligne sur leur équipement et leurs spécifications, Minimiser les risques comme les plis ou les coupes mal alignées. Ajoutez simplement vos illustrations et logos tout en garantissant la précision des couleurs pour l'impression.
Différents matériaux et techniques d'impression
Chaque matériau se comporte différemment pendant la production, Et il est important de choisir le bon pour répondre à vos besoins.
Carton et papier
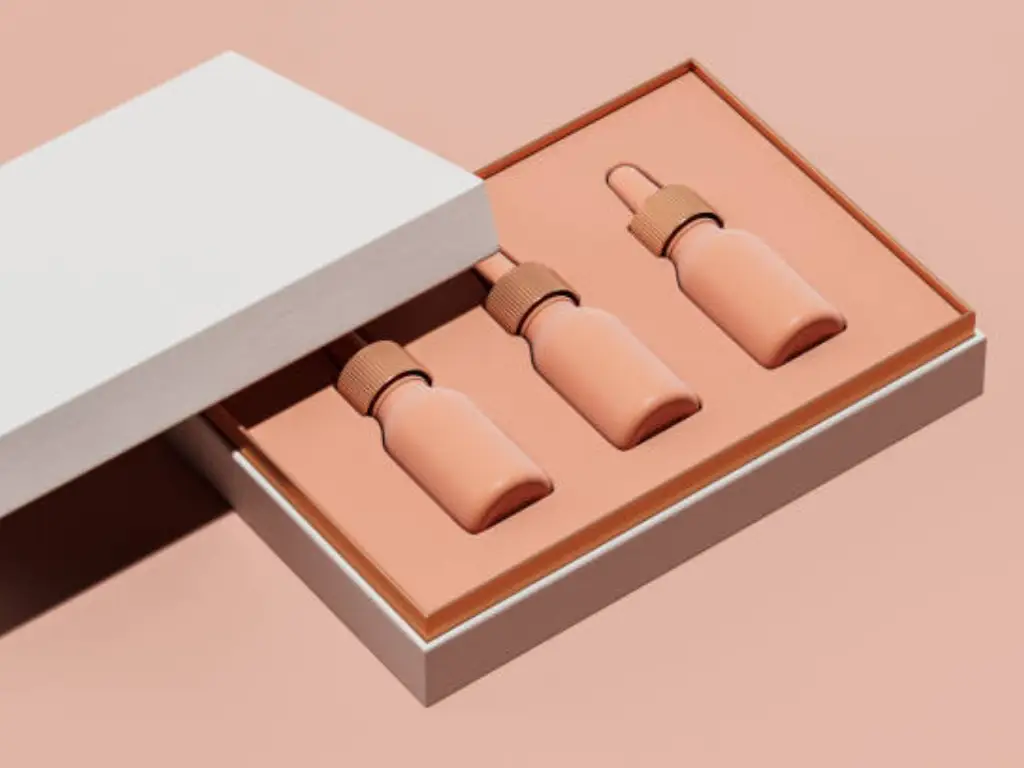
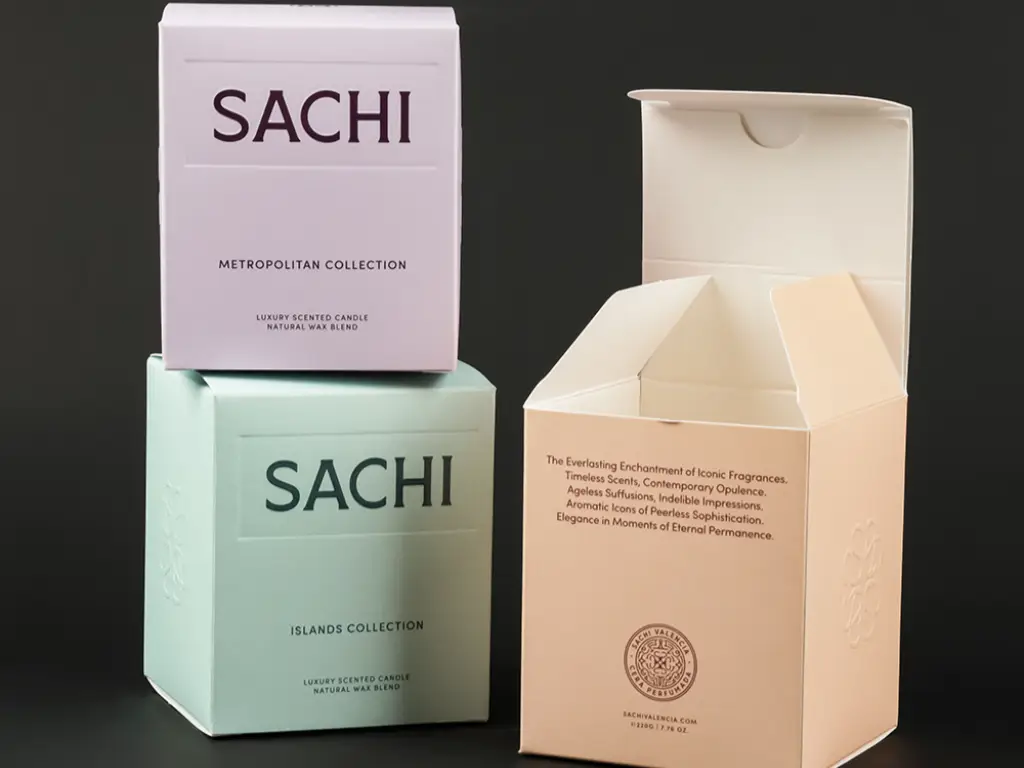
Ces matériaux sont couramment utilisés pour l'emballage, Surtout pour les boîtes de carton, boîtes ondulées, et boîtes rigides. Boîtes à carton sont légers et idéaux pour l'emballage général, alors que boîtes ondulées offrir une durabilité et sont souvent utilisés pour l'expédition. Boîtes rigides sont haut de gamme, emballage robuste souvent Utilisé pour les articles de luxe. Chaque matériau nécessite des considérations spécifiques dans la diéline, comme les lignes de pliage et les lignes de coupe, Pour assurer une bonne intégrité structurelle.
Techniques d'impression
L'impression sur le papier et le carton impliquent souvent des techniques comme l'impression décalée, Flexographie, et impression numérique. Pour les finitions spéciales, L'estampage et le gaufrage en papier sont couramment utilisés pour ajouter de la texture et de la brillance.
Lors de la préparation des œuvres d'art à l'impression, Assurez-vous que toutes les œuvres ou les polices sont à l'échelle correctement et adhèrent aux exigences de taille. Par exemple, Toutes les lignes minces de votre œuvre devraient être au moins 0.25 pt, et les images doivent être intégrées avec une résolution de 300 DPI pour éviter les floues. Le texte ne doit pas être plus petit que 6 pt. Pour le texte noir, Codes QR, ou codes à barres UPC, Assurez-vous d'utiliser 100% K (noir) Pour assurer une clarté optimale.
Emballage flexible
Emballage flexible, comme les sachets ou les sacs en papier, nécessite des considérations supplémentaires, y compris la flexibilité du matériau et la façon dont il se replie. Ces types d'emballages utilisent souvent différents processus d'impression, tel que flexographique ou impression Rotogravure. Comme d'autres matériaux, La diéline doit refléter les exigences uniques de l'emballage flexible pour assurer un ajustement et une fonction appropriés.
Optimisation des dielines pour la production d'emballage rentable
L'optimisation de votre diéline commence par la réduction des déchets de matériaux. Une façon d'y parvenir est de nicher soigneusement votre conception sur le matériau pour tirer le meilleur parti de chaque feuille. Éviter les espaces vides excessifs entre les éléments peut réduire considérablement le matériau gaspillé. En plus, Considérez l'épaisseur du matériau - les lignes de pliage et de coupe d'ajustement peuvent réduire davantage les déchets tout en maintenant l'intégrité structurelle.
Un autre aspect clé consiste à simplifier la conception. Formes complexes, plusieurs plis, Et les embellissements complexes comme le gaufrage ou l'estampage en aluminium peuvent augmenter les coûts de production. En simplifiant la diéline - en utilisant moins de coupes, plis, et des éléments décoratifs - vous pouvez réduire le temps et les coûts de production, Rendre le processus plus efficace. Cette approche économise non seulement de l'argent, mais garantit également que l'emballage final est produit en douceur, sans complications inutiles.
Collaboration avec les fabricants
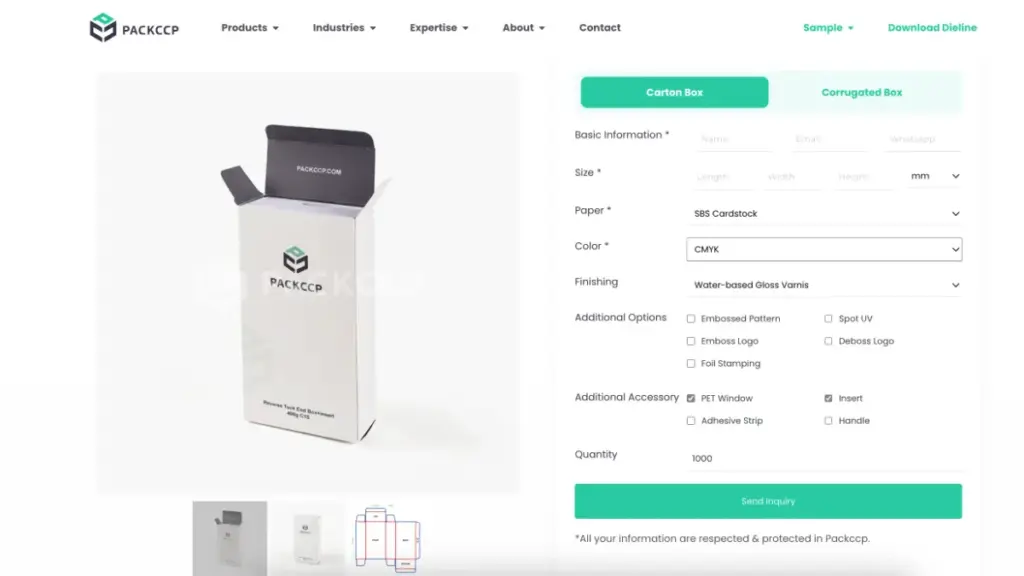
Pour lancer le processus de production, Commencez par soumettre votre diéline via la page du produit de PackCCP. C'est un processus simple - remplissez simplement quelques détails clés, Et nous allons passer en revue votre conception pour nous assurer qu'elle s'aligne sur les normes de fabrication. Si des problèmes structurels sont identifiés, Nous allons en discuter avec vous et effectuer les ajustements nécessaires pour s'assurer que tout s'adapte parfaitement.
Une fois votre diéline approuvée, Nous vous recommandons de commander un échantillon personnalisé. Cette étape vous permet de cocher la taille de la case et de vous assurer que votre produit s'adapte correctement. Si votre œuvre n'est pas encore finalisée, Vous pouvez obtenir un échantillon structurel pour tester le formulaire de l'emballage avant de vous engager dans la production complète. Nous comprenons l'importance de voir votre conception dans la vraie vie, Cette étape vous aide donc à faire des ajustements avant d'aller de l'avant.
Après avoir examiné l'échantillon, faire des ajustements nécessaires, Et donner votre approbation, Nous sommes ravis d'annoncer que votre diéline est prête pour la production de masse! Vous êtes à un pas de plus de voir votre emballage prendre vie.
Conclusion
Une diéline bien préparée est essentielle pour assurer une production efficace et un emballage de haute qualité. En suivant les étapes décrites - des dimensions précises au choix des bonnes matériaux et des bons finitions - vous pouvez minimiser les erreurs et les coûts.
À Packccp, Nous sommes ici pour vous aider à donner vie à vos créations. Prêt à commencer? Tendez la main aujourd'hui et créons l'emballage parfait pour votre marque!